We’re talking about beginnings in this post and wanted to share a little more about the beginnings of our project.
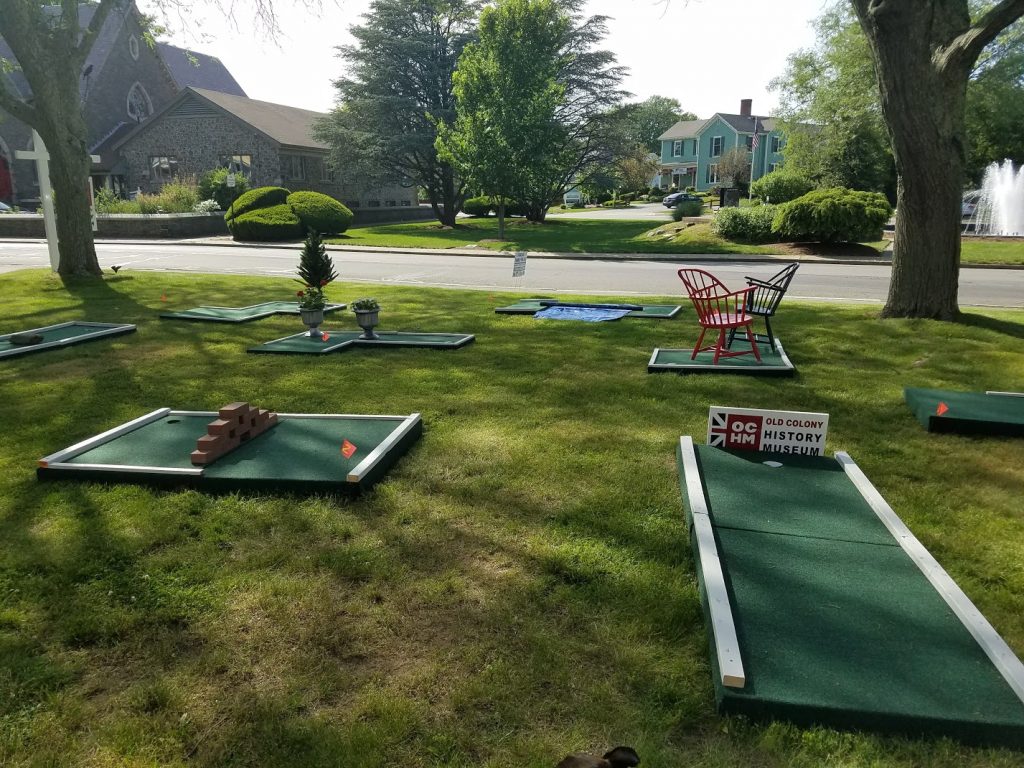
For the past few summers, we have had a homemade mini-golf course on our front lawn. It was fun, eye-catching, and a low-key way to introduce people to the museum. We used lumber from the “cull” pile at the local hardware store, plywood, green turf, and PVC pipes for the holes.
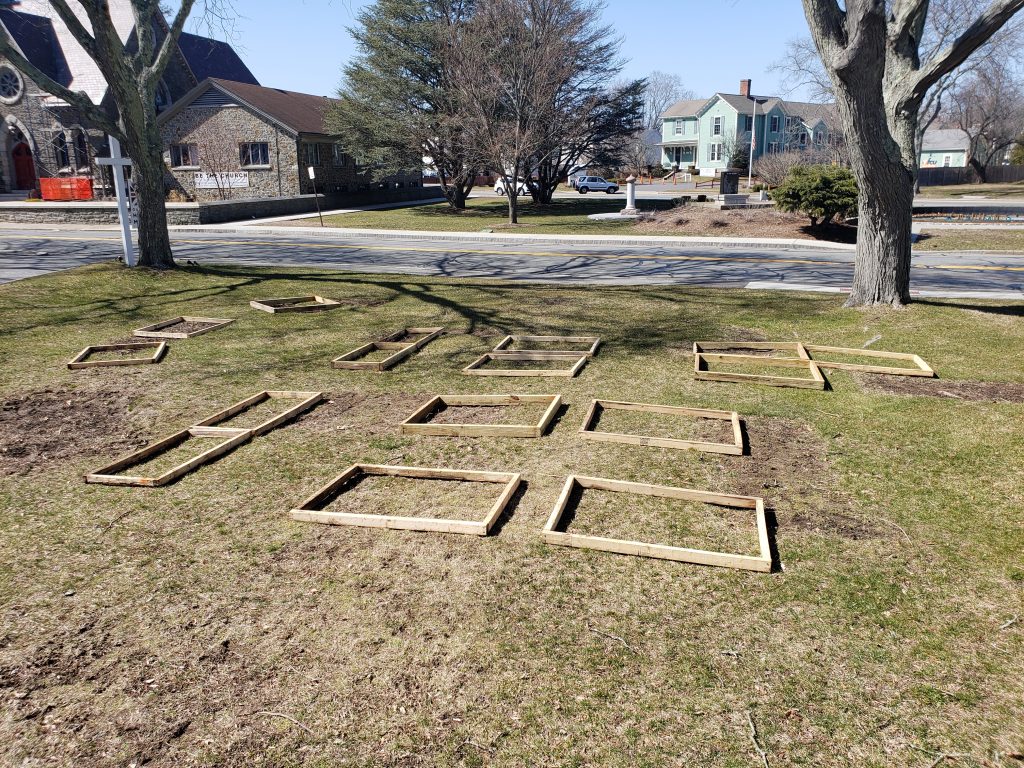
As we looked to summer 2021, the course’s weather-beaten physique and our desire to move away from sharing putters while still dealing with COVID-19, meant we maybe needed to re-think our mini golf course. At the same time, we were brainstorming topics for our Spring 2021 exhibit and were particularly conscious about trying to develop something that would be safe to visit in person, but also allow us to benefit from our new ways of engaging with our audience by combining a physical exhibit with a robust virtual experience.
We realized that by using the existing mini-golf course, after removing the fake grass and plywood tops, we essentially had a set of raised beds and at no extra cost. Raised beds are contained gardening units, usually outlined in wood, stone, or concrete blocks that sit on top of the existing soil. The benefits of raised bed gardening are that the gardener has greater control over the soil, it can be easier to control weeds, and you can typically extend the planting season because the soil tends to warm faster than the ground which is coming out of winter freeze.
One thing to note is that there is some concern about pressure-treated lumber being used in raised bed gardening. The concern is that chemicals in the pressure-treated wood can leech into the garden bed and then the plants growing there. We did have some pressure-treated wood in our mini-golf course but used those pieces in the non-edible parts of our garden to avoid this issue. If you try this out at home, you’ll want to avoid pressure-treated wood.
Typical raised beds are a bit taller than what we were working with—but remember, we are reusing materials we already had. Inside each bed, we now had complete control and we set to work making each garden bed the best it could be for our project. Dirt is the foundation of any garden, and preparing your site is one of the most important (and overlooked) steps that any gardener can take.
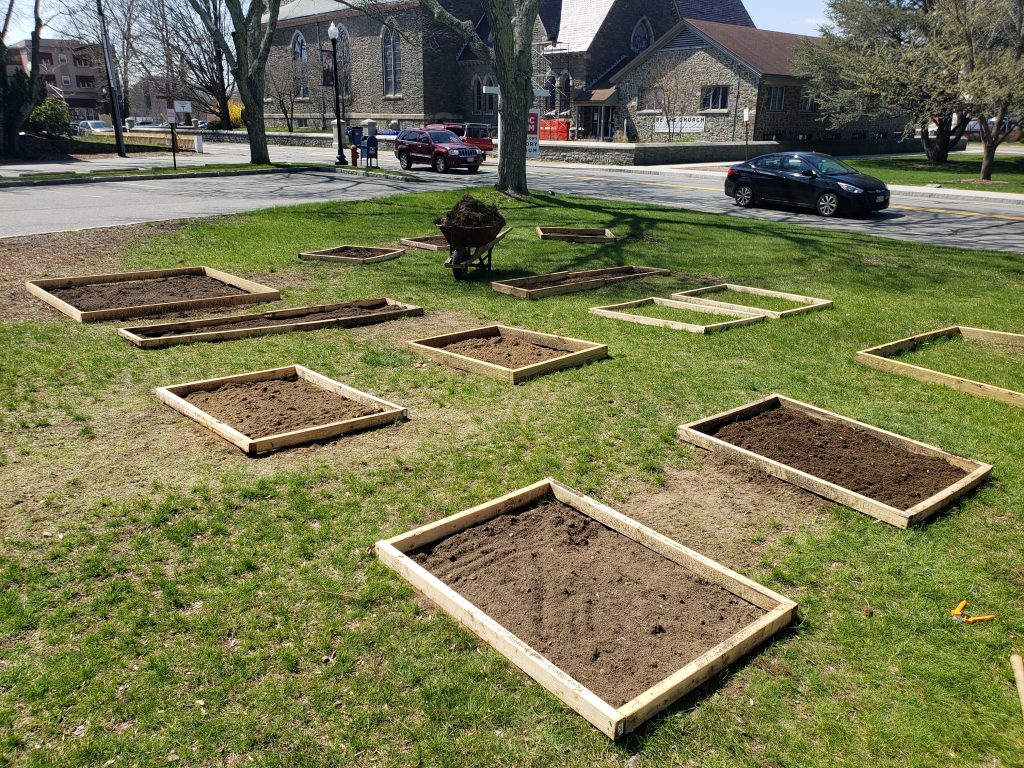
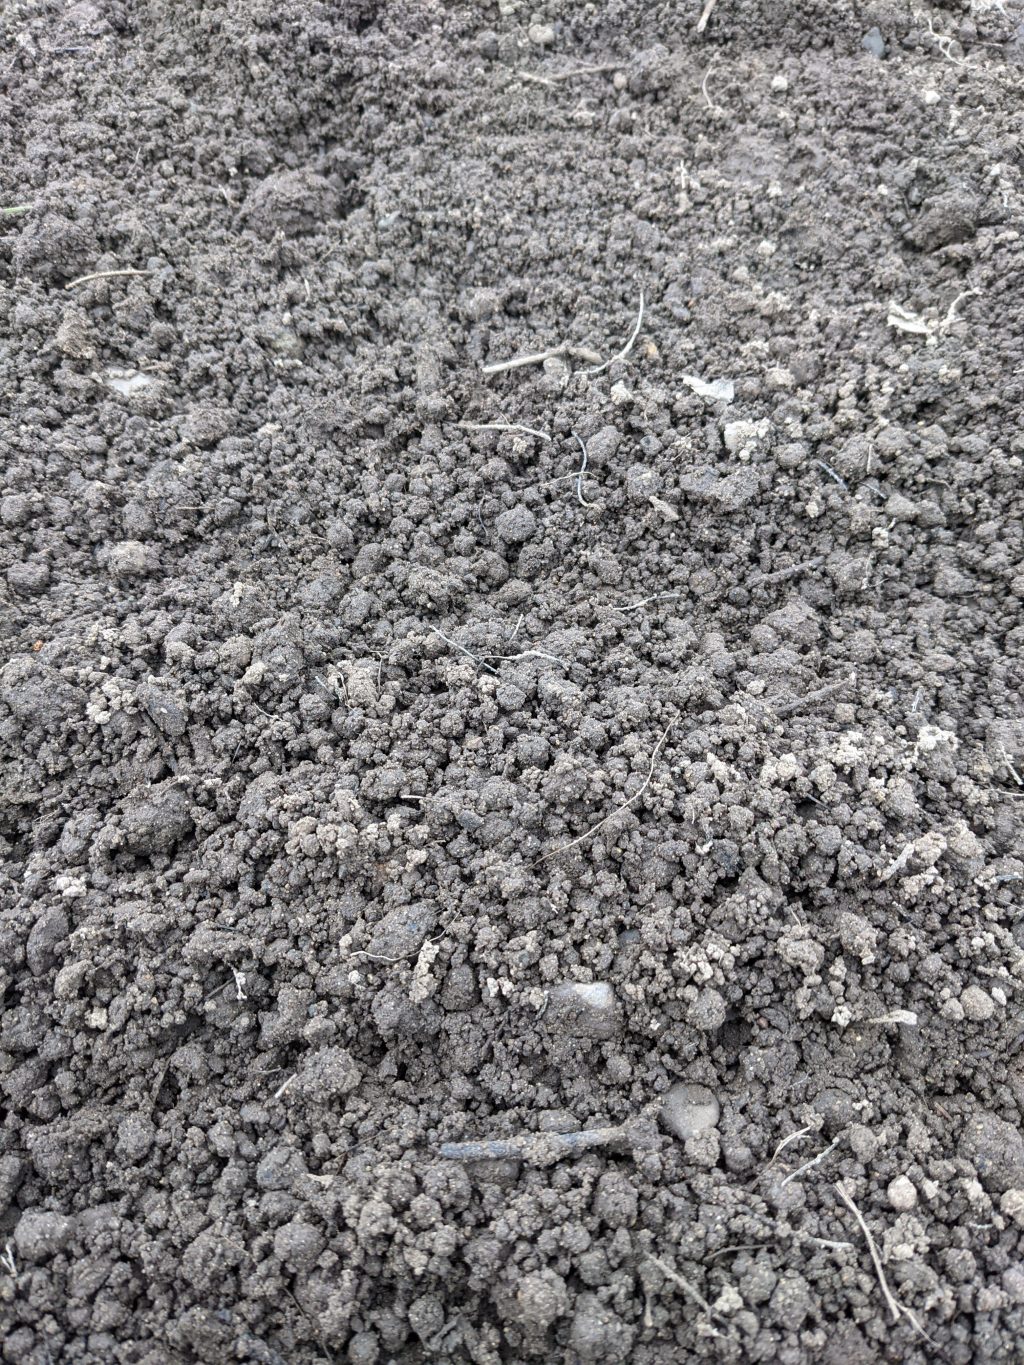
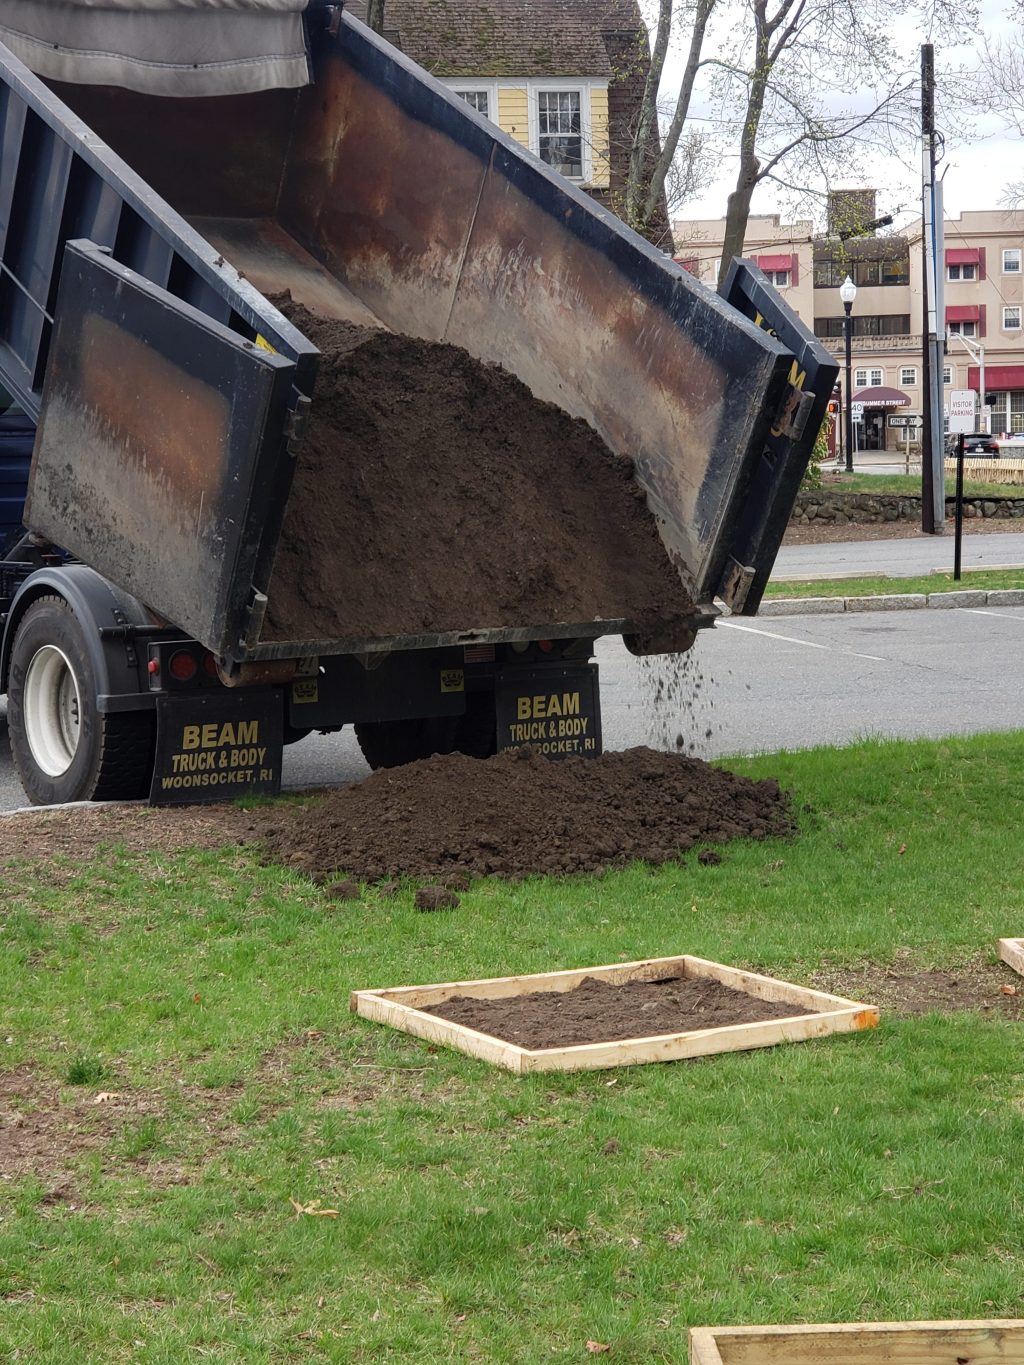
To ensure our best chance at success, we turned over a foot of soil inside each bed removing the grass, roots, rocks, and weeds that already existed. This gave us a blank canvas to drop in clean, sifted loam/compost mix that we ordered from a local business. Loamy soil is a key element of a healthy garden as its three components (sand, clay, and silt) allow for plenty of room for root growth while helping the dirt retain all its nutrients for even healthier plants. We worked our new soil into the existing soil and filled each bed up to the top of the wood sides. From here, each time we plant we will add in some organic compost to really give the plants and seeds the best chance of survival. Compost is broken down organic matter, such as leaves and food scraps, which helps soil retain moisture and nutrients. When you add compost it not only nourishes your plants, but also works its way through the soil and will improve a planting area over time. We’re amending our soil in spring because this garden is starting from scratch, but if you are working in your garden at home, you can add 2-3 inches of compost to the garden in the fall, and allow it to work in over the winter to prepare your beds for spring planting.
The one exception to our compost plan is for the wildflowers. We are sowing seed for 18 native wildflowers found throughout New England, in three separate beds. Wildflowers want well-draining soil and lots of sun, but they do not need a lot of nutrients. So for these beds, we’ll leave the soil alone and just scatter the seeds and let nature take it from there.
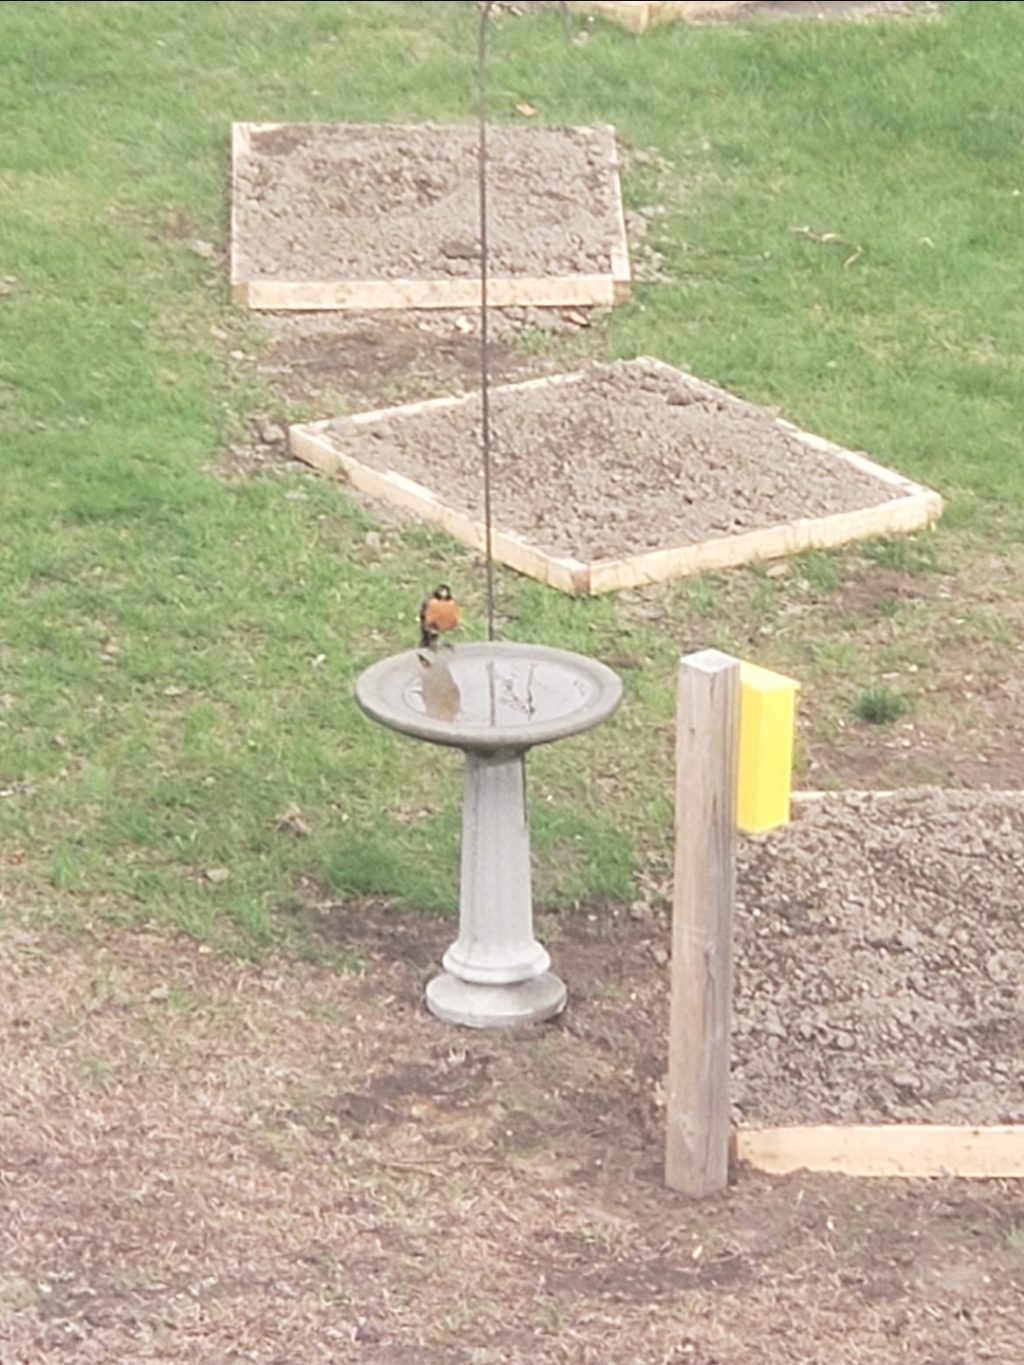
Our beds were in place for mid-April when we officially opened the exhibit by transplanting our onions. Onions don’t mind some cooler temperatures, but our other plants would not do so well if planted now. They are going to wait for some warmer temperatures, and we’ll look to transplant our seedlings and sow some additional seeds closer to mid-May.
You can check out a video of this whole process, and lots of our other videos on our Youtube Channel!
